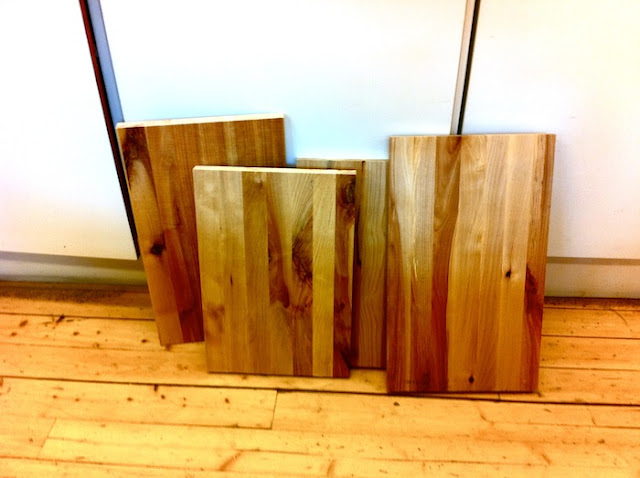
Materials: 4 odd bits of IKEA Ekby St�tlig shelves (pieces from 28cmx119cm), Circular saw, Biscuit jointer+8 biscuits, White glue, Clamps
Description: After having put up some IKEA Ekby St�tlig shelves in my bathroom I found myself with some shelf leftovers...I felt it would be a shame to throw the nice bits of solid birch wood...
So I came up with the hack idea to hack the (flat) Ekby shelves to a 3D cube - a solid, versatile piece which goes pretty much anywhere in the house - Use it as a side table, a stool, a shelf, or anything that's needed at your place!
Here are the instructions:
1. Get some clean cuts with a little help from a circular saw. The aims is to get all 4 sides form a nice cube (hence, top and bottom should be the same length, as should the side pieces)...
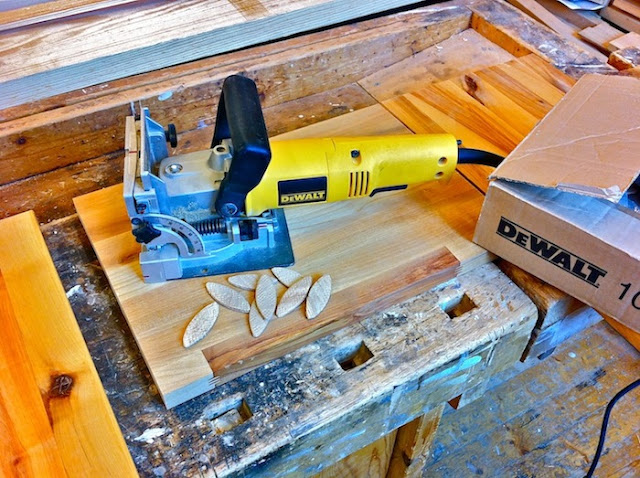
2. Use a genius tool called a Biscuit Jointer, ideal for angled 90� joints. The jointer has a rotating blade that cuts curved slots into the material. It's essential that mating edges are planed straight for a tight joint.
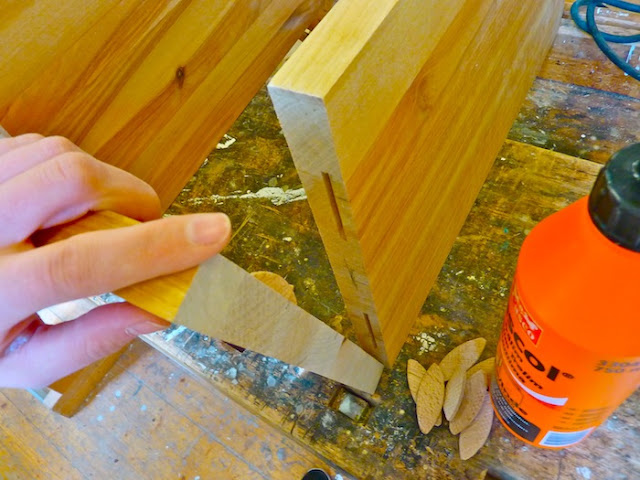
3. The biscuits will expand when in contact with fluids. This quality makes it ideal for jointing. Add some white water-based glue (intended for wood) on both mating sides of the biscuit.
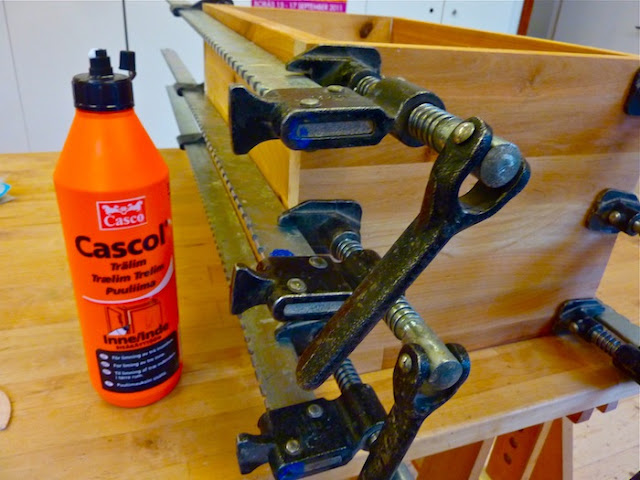
4. Lastly, clamp it up! The cube will be ready for action after 20 minutes or so.
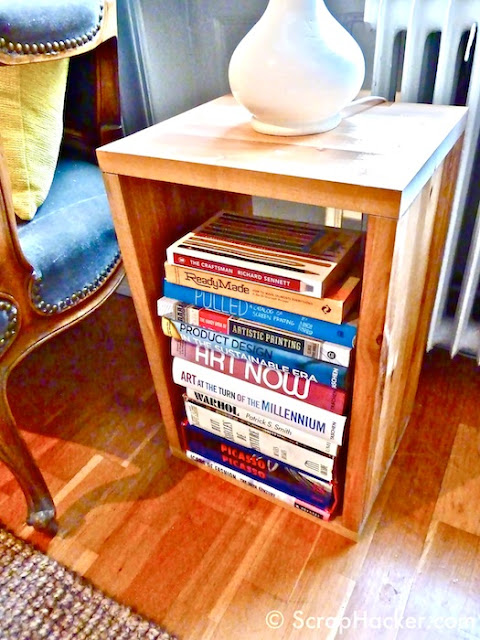
5. Ta-daa! The finished 3D version of the Ekby Shelf! - Enjoy!
The best part of the "Ekby-in-3D"-hack is that you can derive pretty much any solid cubical structure from it - So go cubistic and hack away!
See more of the 3D Ekby.
~ Filippa Malmegard, Stockholm, Sweden


0 comments:
Post a Comment
Click to see the code!
To insert emoticon you must added at least one space before the code.