Materials: Liatorp Skjenk
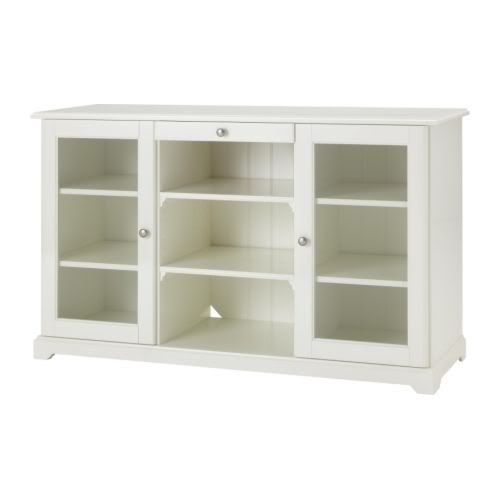
Description: We bought a used sideboard online, actually an IKEA furniture called Liatorp Skjenk.
The sideboard was nice, but we needed a sideboard for the bedroom, and the original one wasn't really fitting in. So I decided to do something about it. I had some nice wallpaper lying around from the last dresser i refurbished, and though maybe I could dress the doors with it, the question was how.
You need:
- Liatorp Sideboard
- Oil-based primer
- Small paint roller
- Wall-paper
- Wall-paper glue
- Paint brush
- Wall-paper knife
- Glue (hobby, wood)
- Hammer
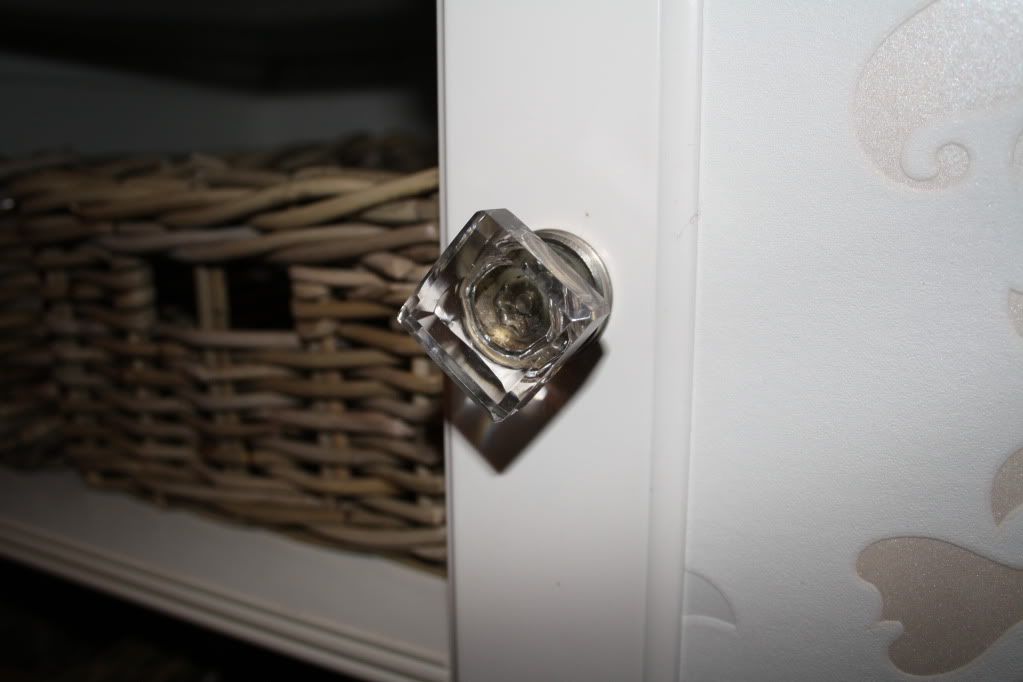
- 3 x nice handles (from interior store)
- 2 x Byholma basket white
- 4 x Byholma basket gray
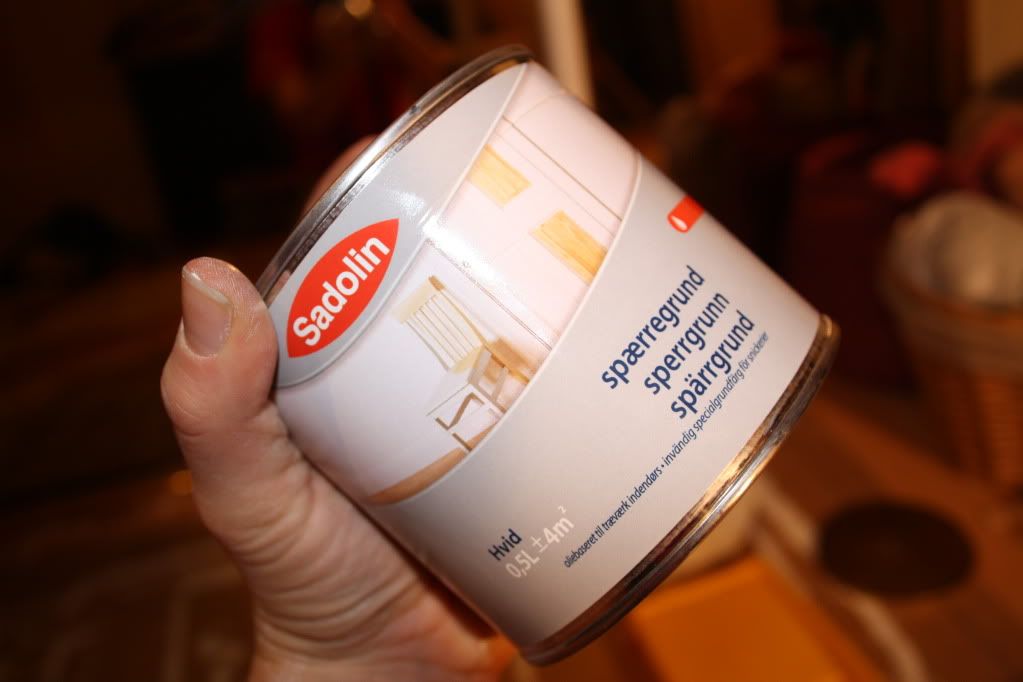
When we picked up the sideboard, one of the doors fell apart, and I thought, great, it will make it much easier to paint and wallpaper the glass without the door-frame. The other door was about as easy to disassemble.
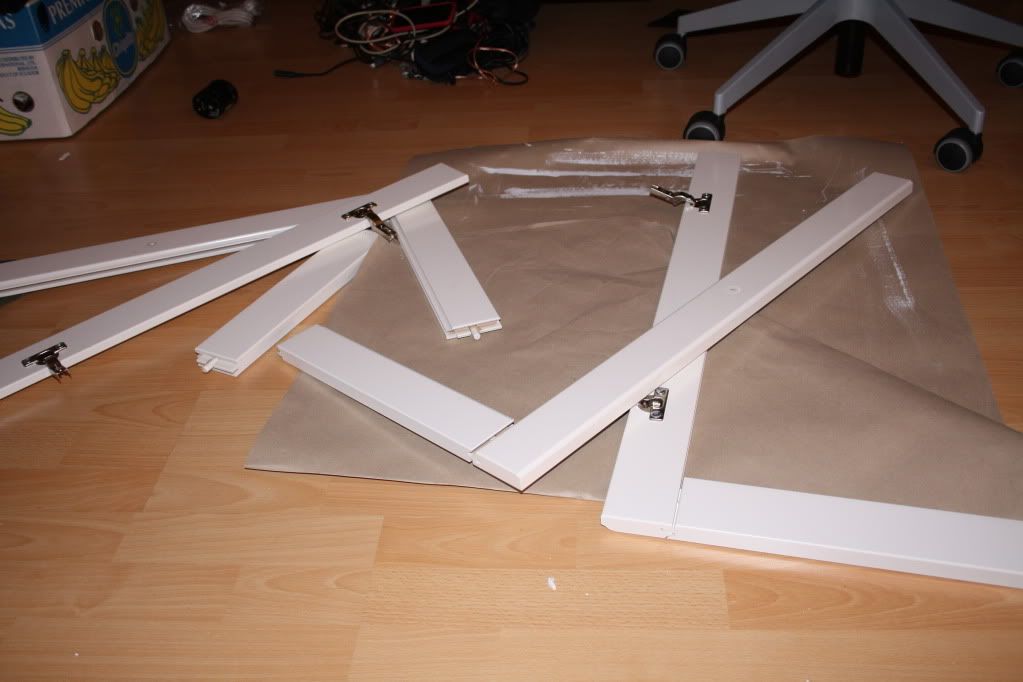
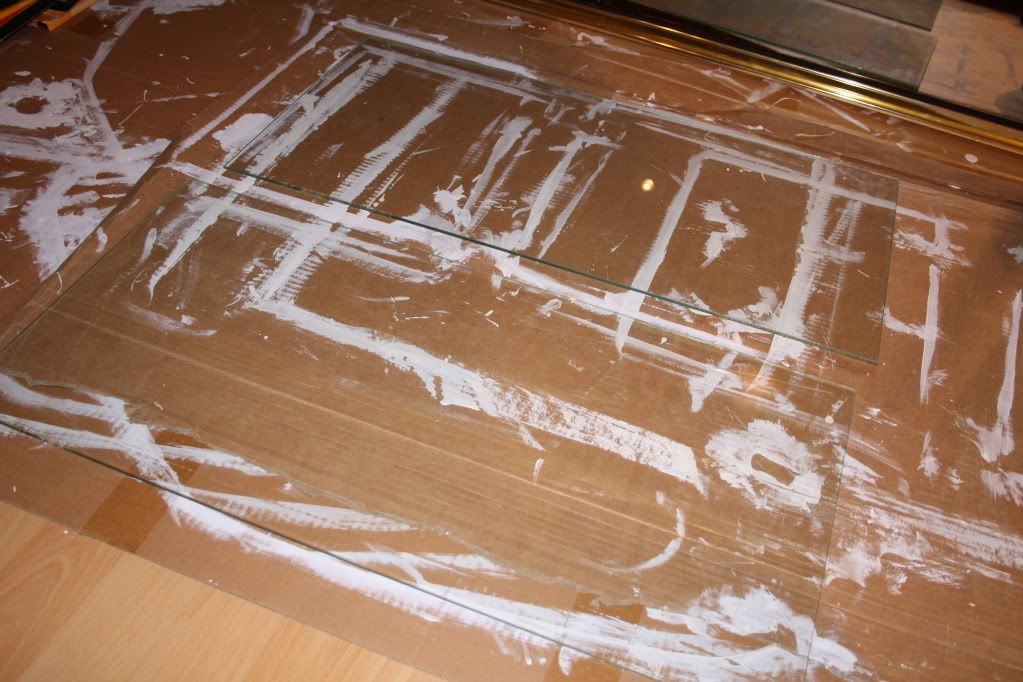
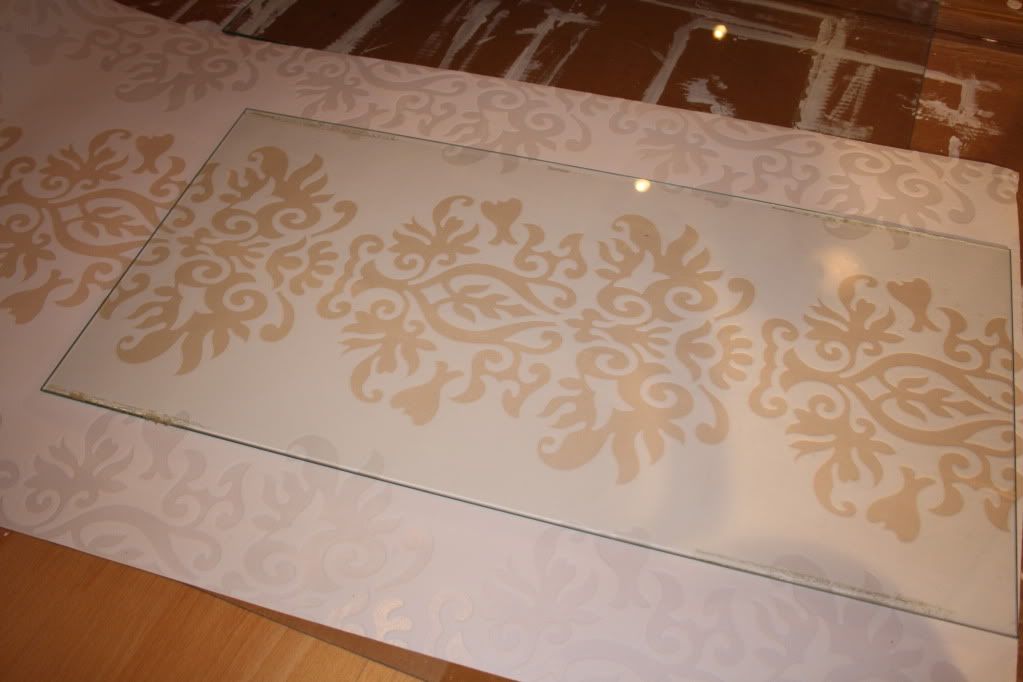
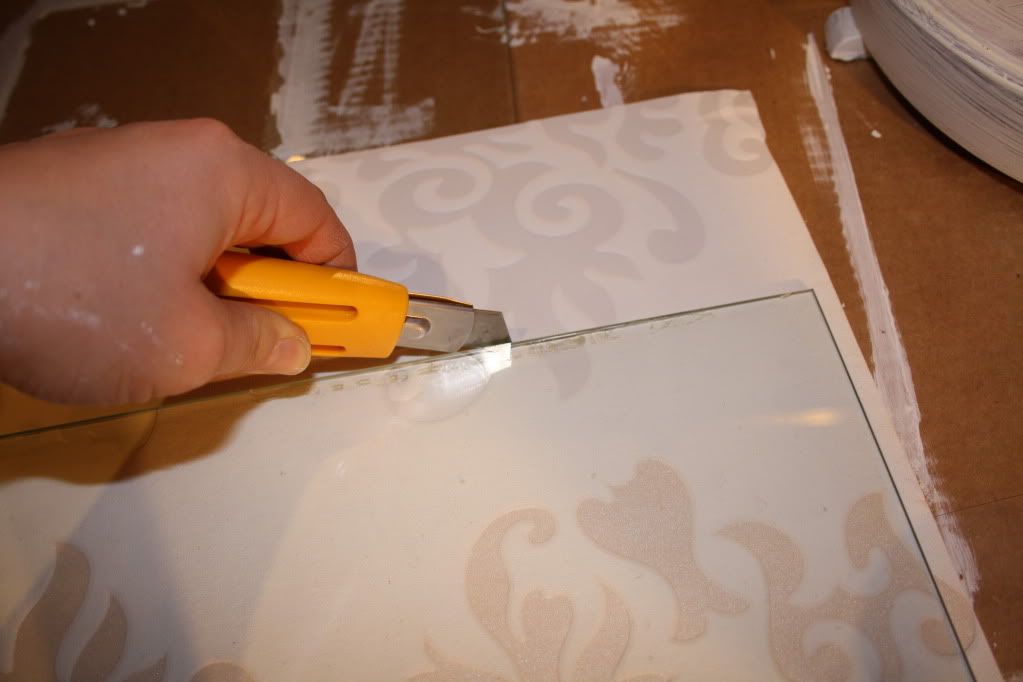
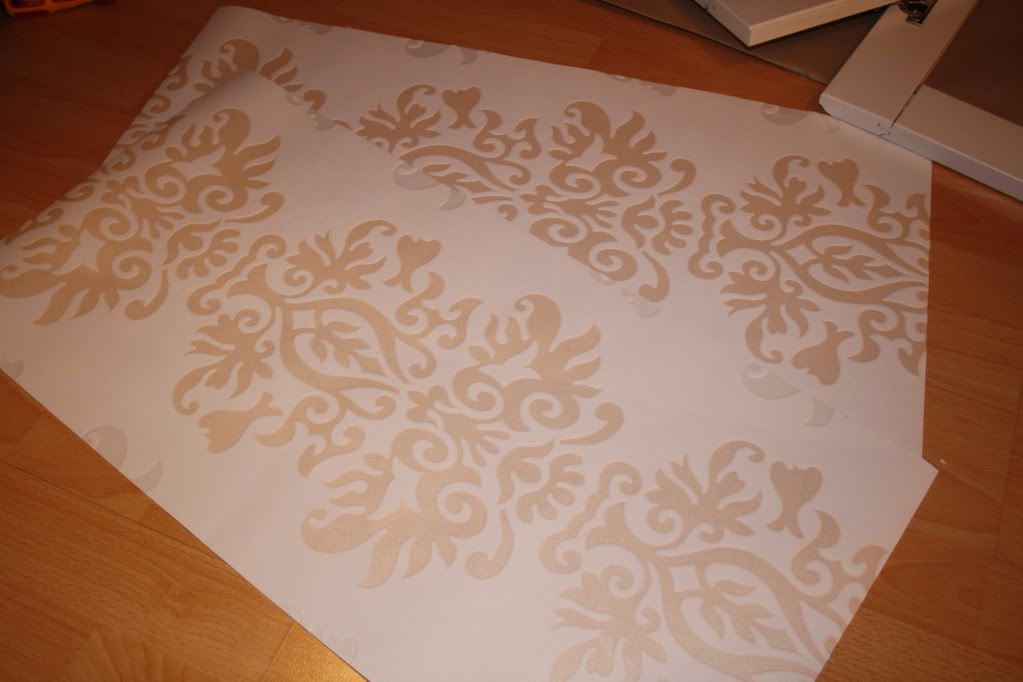
The first I did was to cut out the wall-paper I wanted to use. I did this by placing the glass on top of the wall-paper and cutting the edges with a wall-paper knife. Its important that the pattern are the same on both doors (that the pattern start and ends the same place).
Use the small paint roller and roll primer all over one page of each glass.
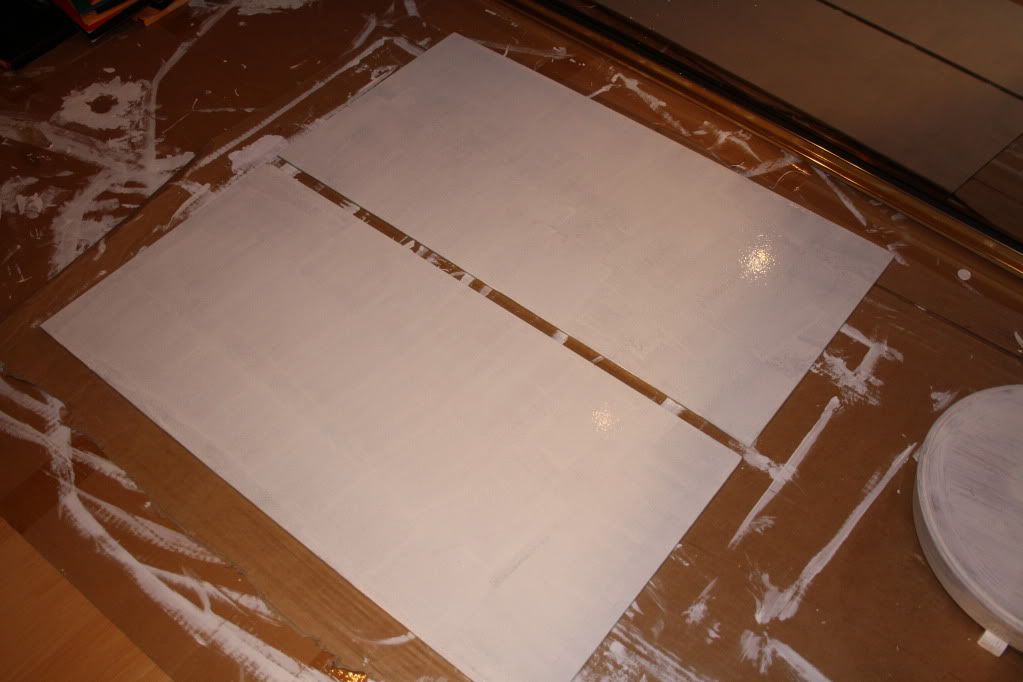
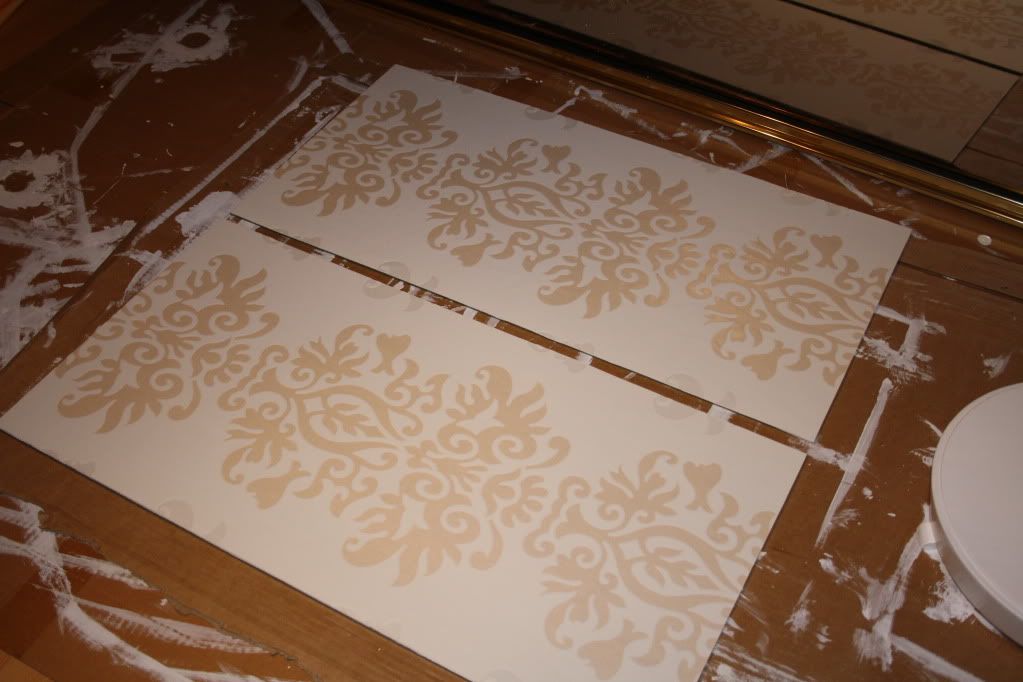
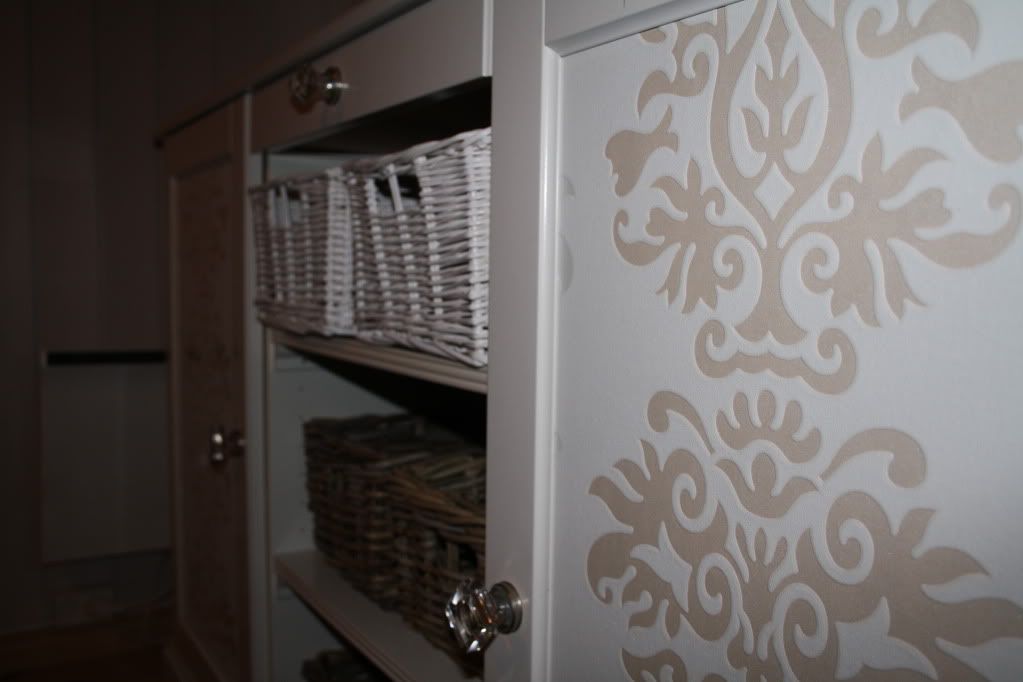
When the primer has dried (read on the box), put on wall-paper glue with a paint-brush all over the glass. Put on the wallpaper and squeeze out all the air bubbles. Remove any glue that squeezes out on the sides and let it dry over night.
Disassemble the frame completely and fill the wide part with the hinges with hobby glue, put a little extra where the tree plugs are going in. Assemble one of the short parts, fill it with hobby glue and assemble the glass. The long part can be pretty tight, so be careful that the wall-paper do not curl upward, but slide in the crack with the glass. The short part is more roomy.
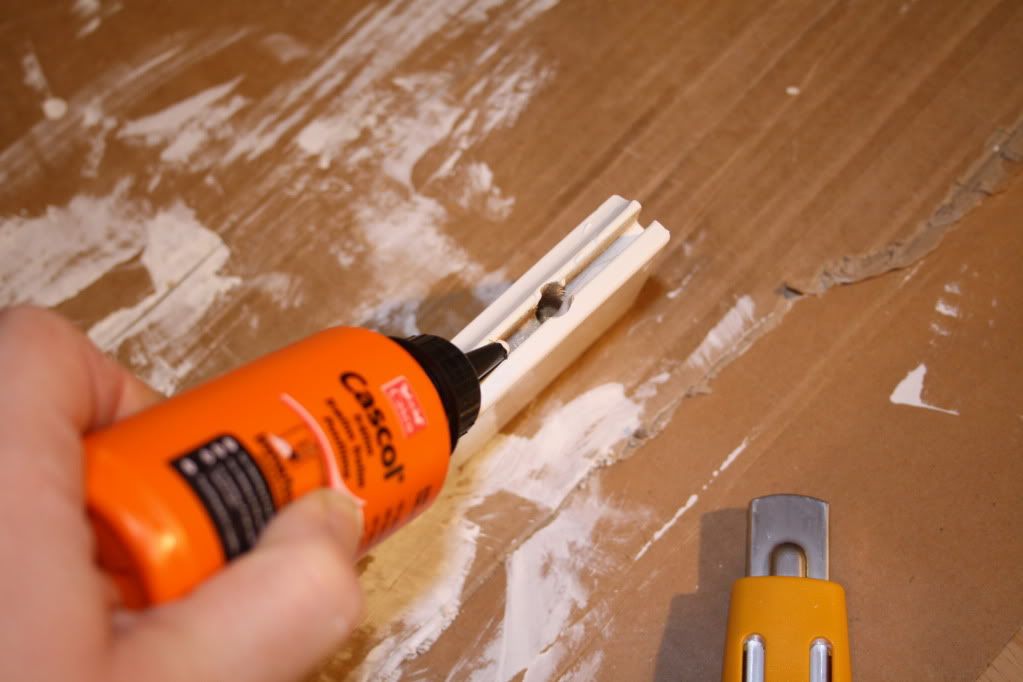

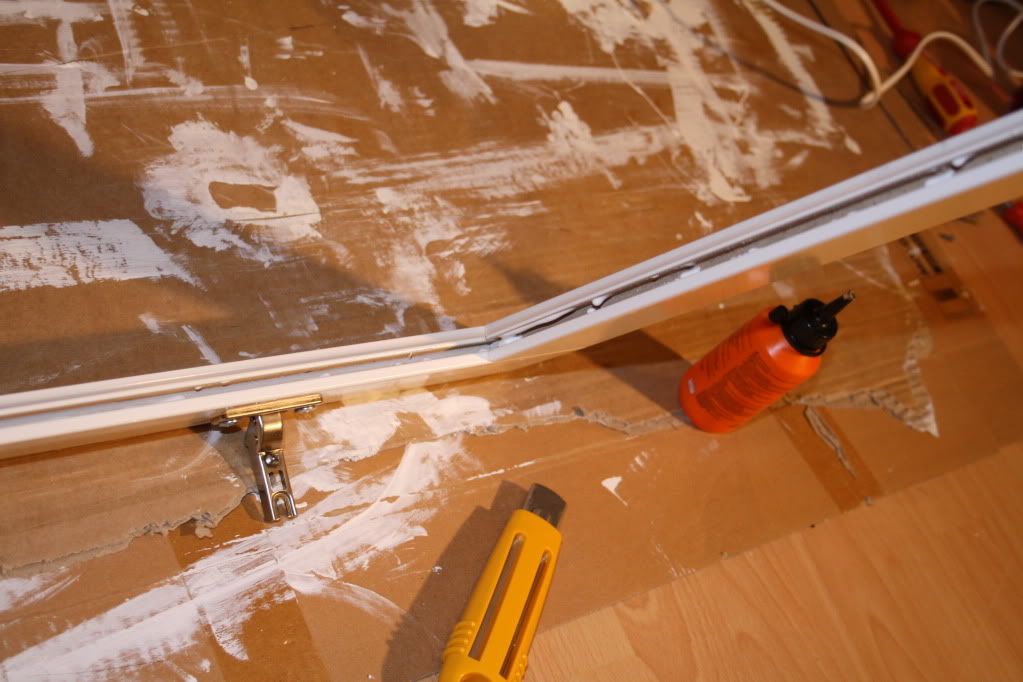
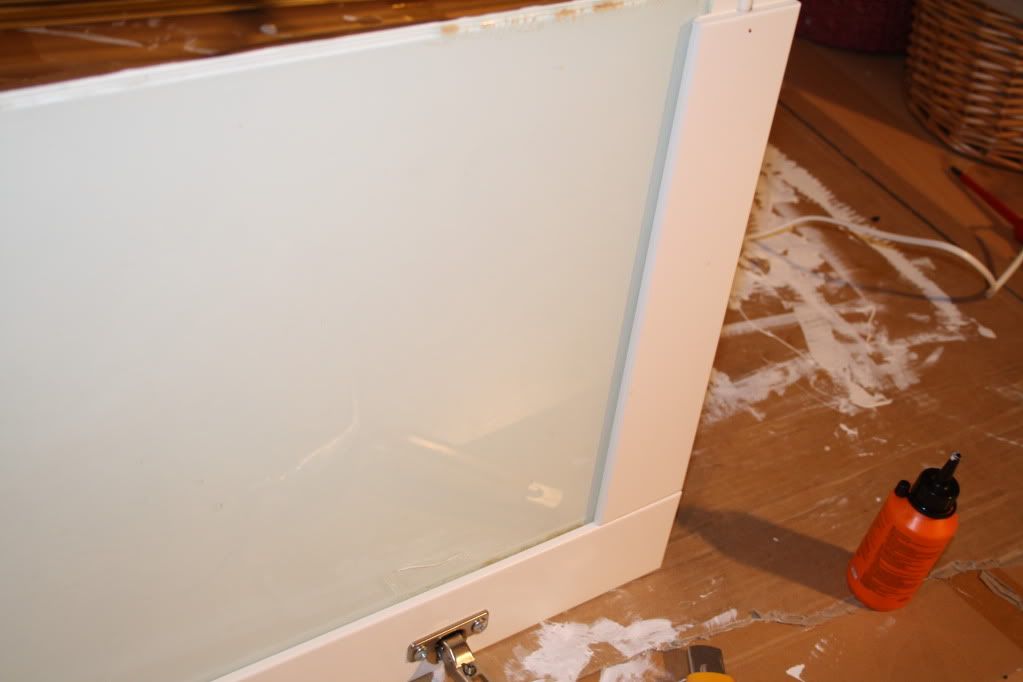
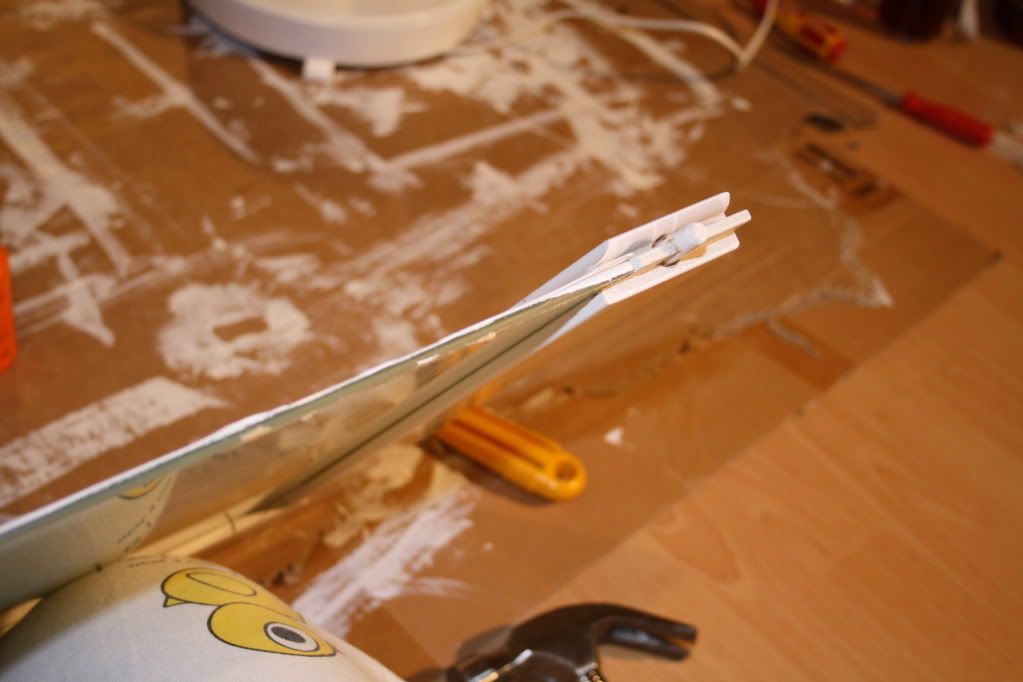
Assemble the last short side (filled with glue), and last the last long side (filled with glue). You might need to bang it a little, but be careful that the wall-paper follows into the crack.
When you assemble door number 2, make sure the wall-papers are mirrored. Check this one extra time, it really sucks if you get it wrong ;)
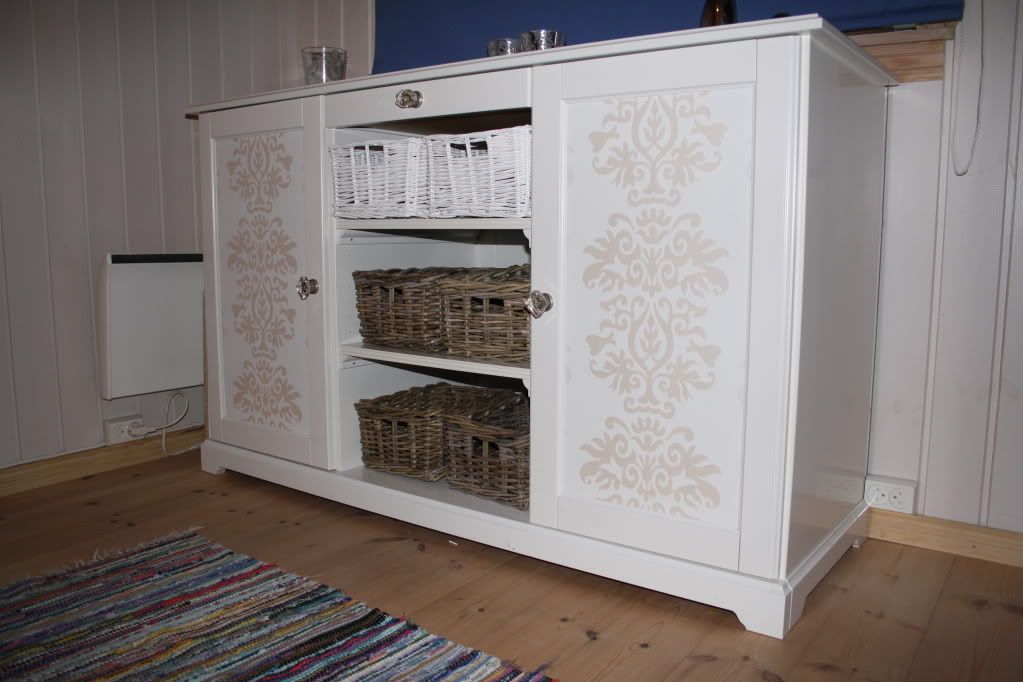
Let the closets dry for a few hours, and mount them on the sideboard. Mount the new handles, and put in the baskets, and tada, a new gorgeous sideboard for the bedroom :)
Before:
After:

See the original post.
~ Ingrid


0 comments:
Post a Comment
Click to see the code!
To insert emoticon you must added at least one space before the code.