Materials: PAX Wardrobe, bungee cord, PVC tubing, screws, 2x4
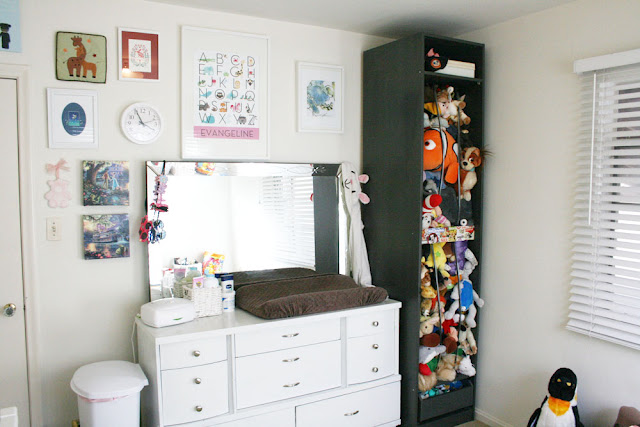
Description: I hacked a PAX wardrobe and turned it into an 8-foot tall stuffed animal zoo for my daughter's nursery. Here's the step-by-step:
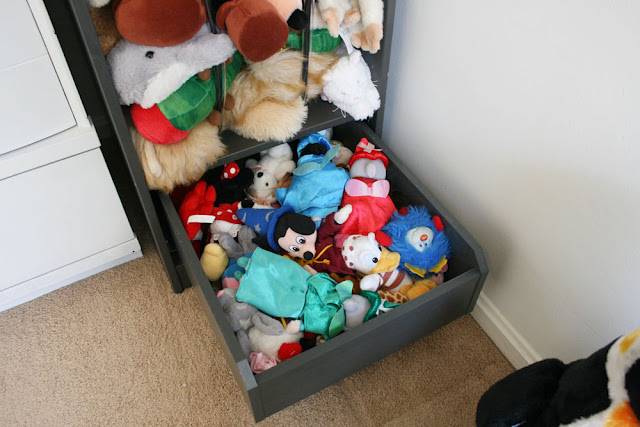
(1) Assemble the wardrobe and add in any shelves or drawers that you wanted to add.
(2) If you added shelves, reinforce the two that you'll be attaching the bungee cord to. I added a screw on each side by drilling from the outside of the wardrobe into the side of the shelf. There's probably another method that would allow the screw to stay hidden, but I wasn't worried about it.
(3) Cut the 2x4 to fit across the wardrobe in the center and use screws to attach it to the wardrobe. I only used one on each side, but two on each side will be smarter. I had problems with the 2x4 turning as I was working on the wardrobe.
(4) Cut the hooks off the ends of the bungee cords and use the lighter to singe and "finish" the ends so they don't fray while you're working.
(5) Screw one end of the bungee cord to the bottom of the wardrobe, making sure that the cord is set fairly far into the wardrobe. Little stuffed animal limbs will stick out once it's full and it will look neater if they aren't sticking too far out of the wardrobe. Plus, setting the cords in deep will give you the option of adding a door or curtain later without snagging on any toys.
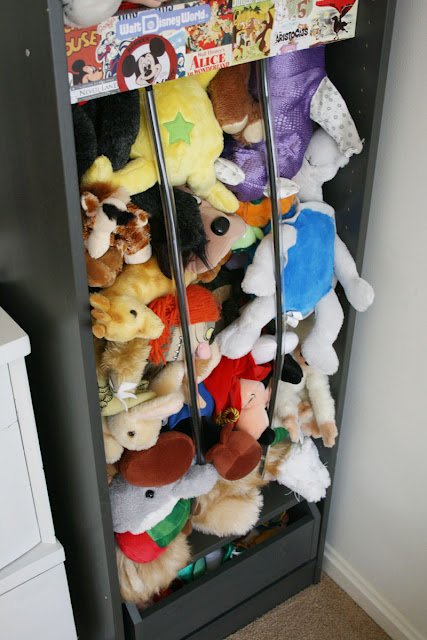
(6) Cut a length of tubing to mostly cover the bungee cord and slip it over the cord. You don't want to actually screw the tubing into the wardrobe, but it's necessary because it will keep little ones from wrapping the cord around their wrists and necks.
(7) Pull the bungee cord up to the center until it's as straight and taut as you want it and then screw it (just the cord, not the tubing!) to the back of the center piece. I found it was easier to put a nail in first to hold the cord so that I could operate the drill more easily before pulling the nail out, but that's just me. The cord will probably be too long, with extra hanging off, but you can deal with that later.
(8) Repeat until you have all four "bars" up. I'd give you tips for attaching the bungee cords to the top of the wardrobe, but you get the idea. Wing it.
(9) Once all of the bars are attached, cut the extra pieces of bungee cord off and use your lighter to singe and "finish" the cut ends. Do not, however, lean over the lighter while doing this if you have long hair. Not that I'd know that's a bad idea from firsthand experience. *cough*
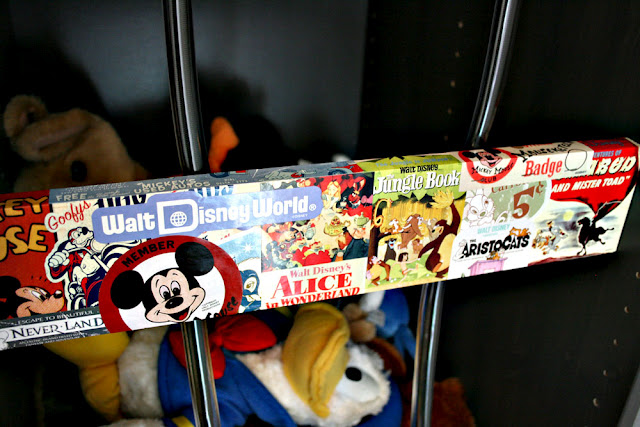
(10) Cover/decorate that center piece however you want. I thought about painting it a solid color and adding some lettering or something, but I really wanted it to be something fun and sort of silly. I ended up using old Disney scrapbooking stickers to decoupage the bar and we really loved the result. The nice thing is that the moment I stop loving it, I can just paint over it or cover it with fabric. I could also add a door to the wardrobe at any time.
See more of the Pax Stuffed Animal Zoo.
~ Carly Morgan from The Disney Baby Blog, Salt Lake City, UT
0 comments:
Post a Comment